Children will naturally find "lines," in their environment to walk on so it only made sense to Maria Montessori to implement the idea in a learning environment so the child could enjoy it and refine his balance whenever he pleased. See my previous post Thinking outside of the mat--walking the line for Delores' insight to walking the line.
I have found movement songs that encourage children to get up and dance are good for walking the line as well as classical music. Depending on the child it might be best to start with classical and move into a quicker tempo or dance song. For others, like Delores, they might prefer quick tempo music and dance and then end with more mellow classical or instrumental. You just have to play around with it and see what works best.
I have attempted several times to put a walking line on our living room floor with no real success.
My first line was on our faux hard wood flooring with masking tape that had two long parallel lines connected by half circles at each end. It looked something like this:
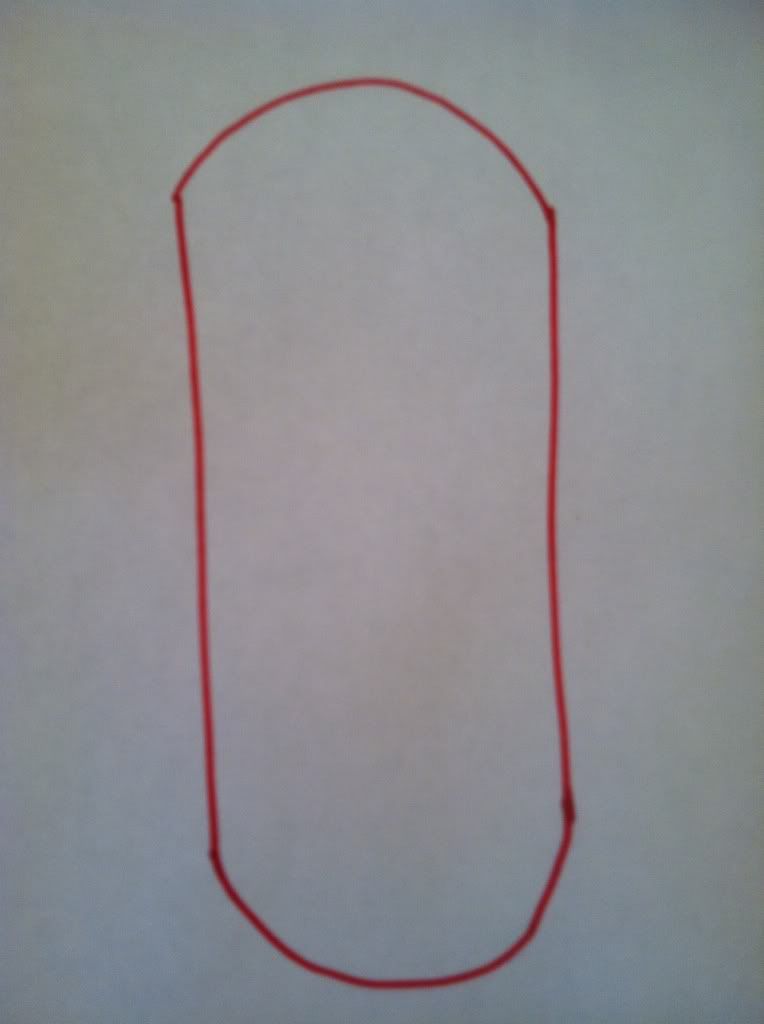
That worked ok but the masking tape wasn't dark enough or wide enough and when our floor had to be ripped up due to water damage so went the line.
My second line was with chalk on our now concrete floor. It made it easy to put down and if I made a mistake with the shape it came right off with a little water. My intention was to use red duct tape but it did not work well when I needed to go around a curve. I ran out of tape half way through and I ripped the whole thing up out of frustration. The chalk shape stayed on the floor for about 3 weeks but stained quite a few pairs of socks and our cat.
This time I set out to make it permanent. I only wanted to do this one last time and that was going to be it! How? Paint! Hey, why live with a hideous concrete floor if you aren't going to take advantage of it?
So I had a way, now I needed to find a how. I prefer the ellipse shape over shapes with all straight lines and sharp angles so I started researching, but it turns out there isn't a whole lot of advice on how to make an ellipse on your floor so I had to figure it out my self by looking at pictures.
Since I know there are some of you out there looking for the same advice I'd like to share how I did it.
Find your center point of the area you want your ellipse and make a dot.
Then make a long line and and short line forming a cross using your dot as your intersecting point. You may want to get out a measuring tape to make sure each arm of the cross is the length you want.
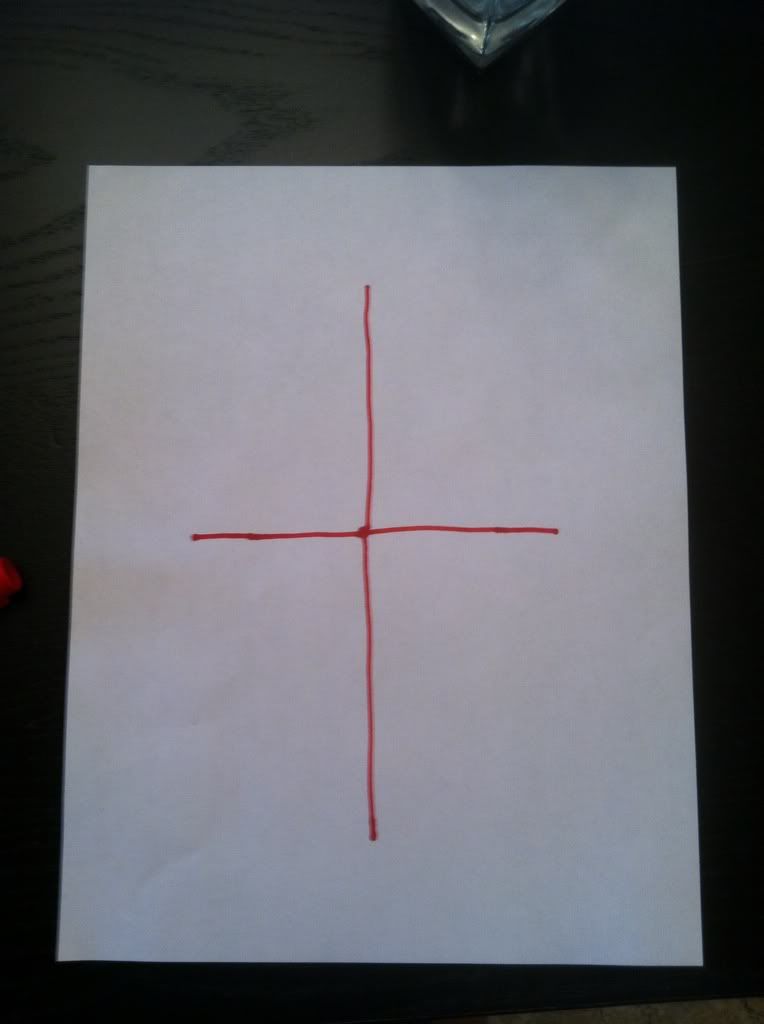
The next part is optional depending on the shape you want to achieve. Make two vertical lines perpendicular to each side of your horizontal arm of the cross.
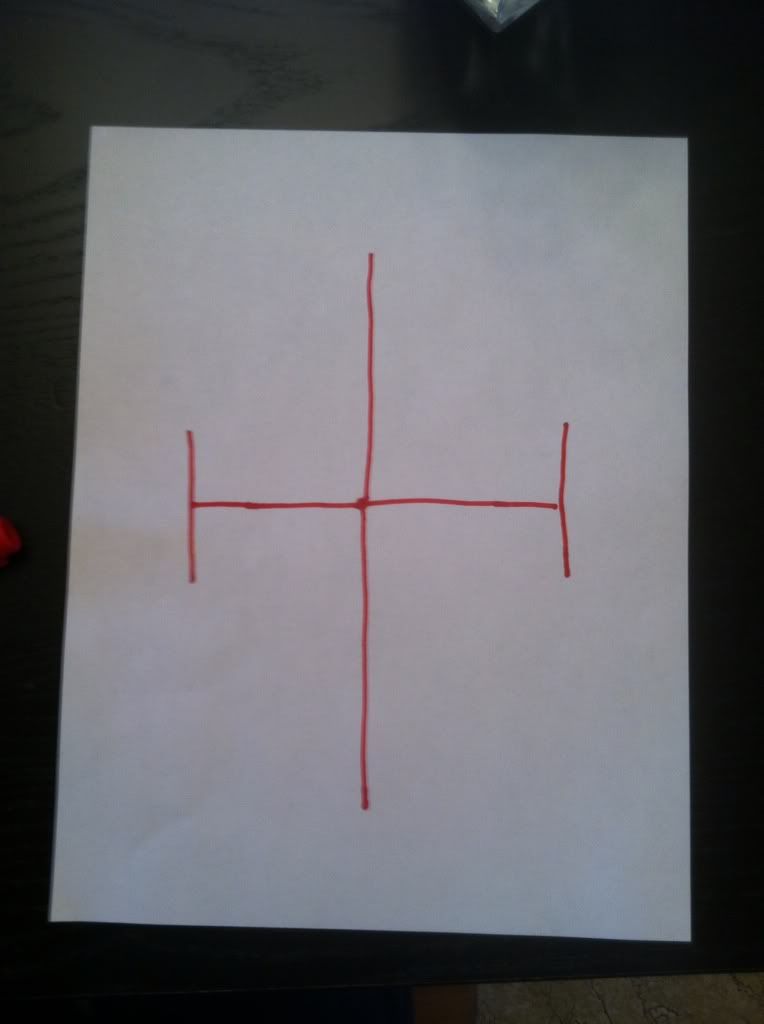
Next draw a slight curve connecting each end of your cross.
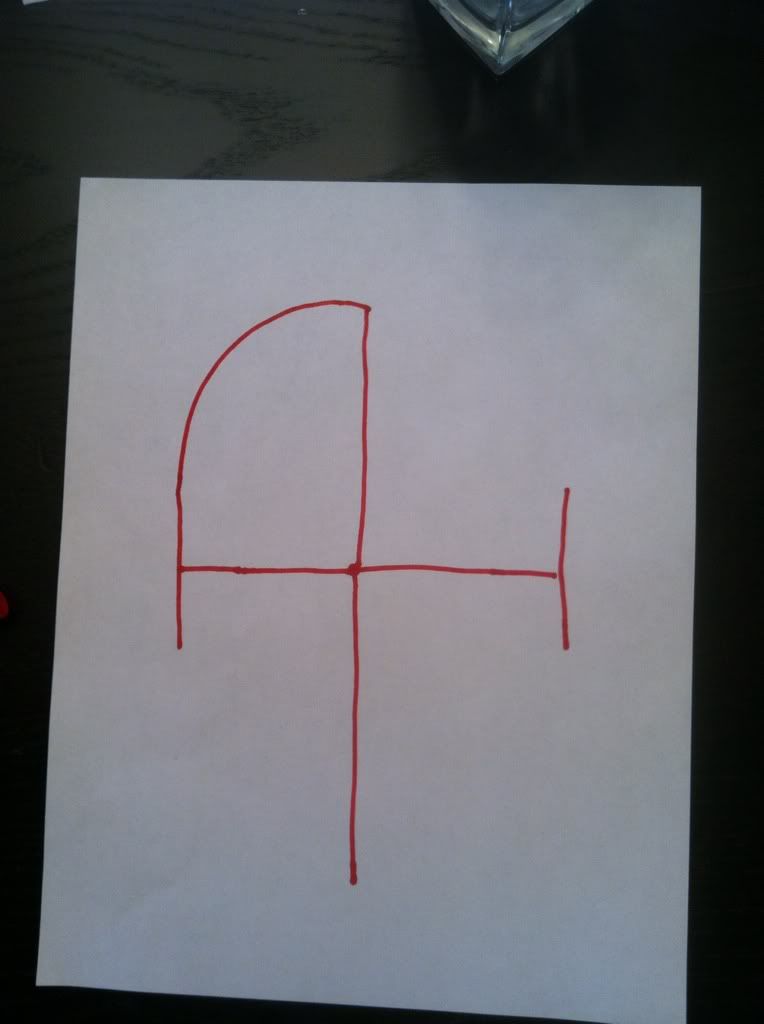
If you did it without the perpendicular arms it would connect like this:
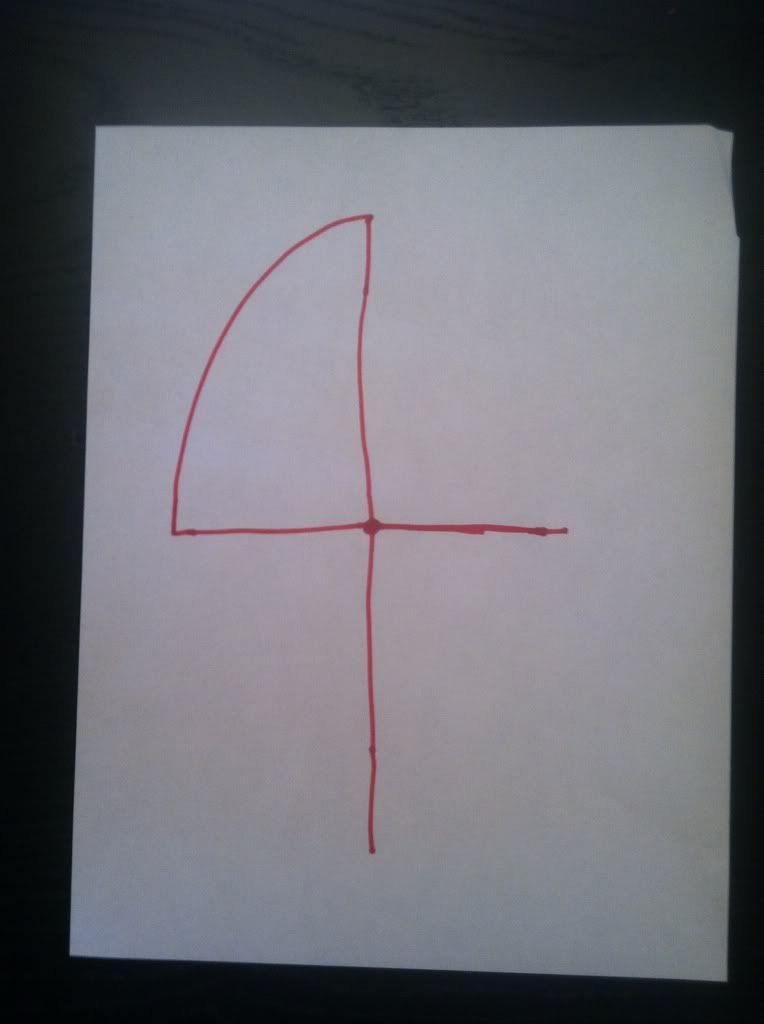
Here is the finished image of each:
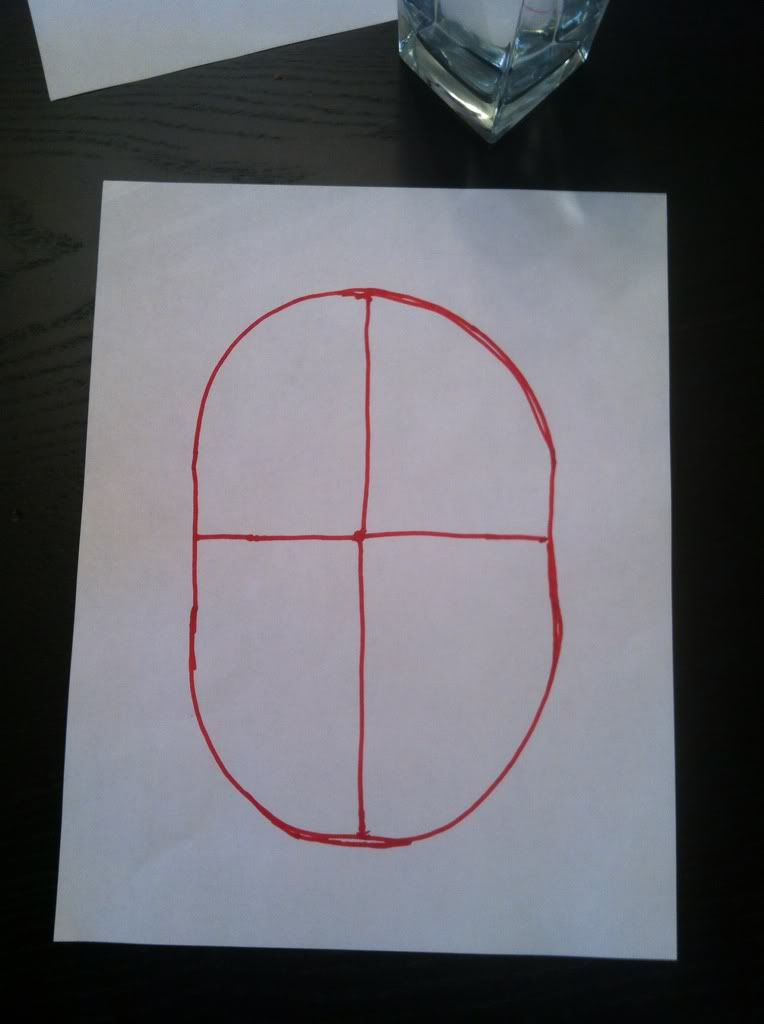
With the additional lines
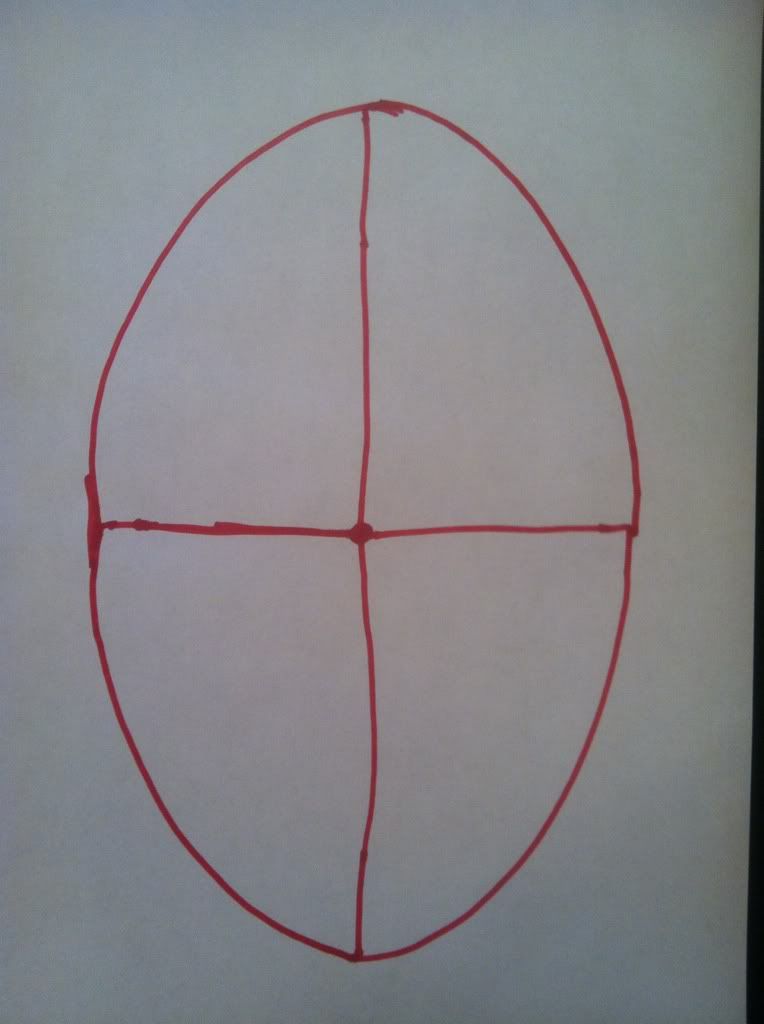
Without the additional lines.
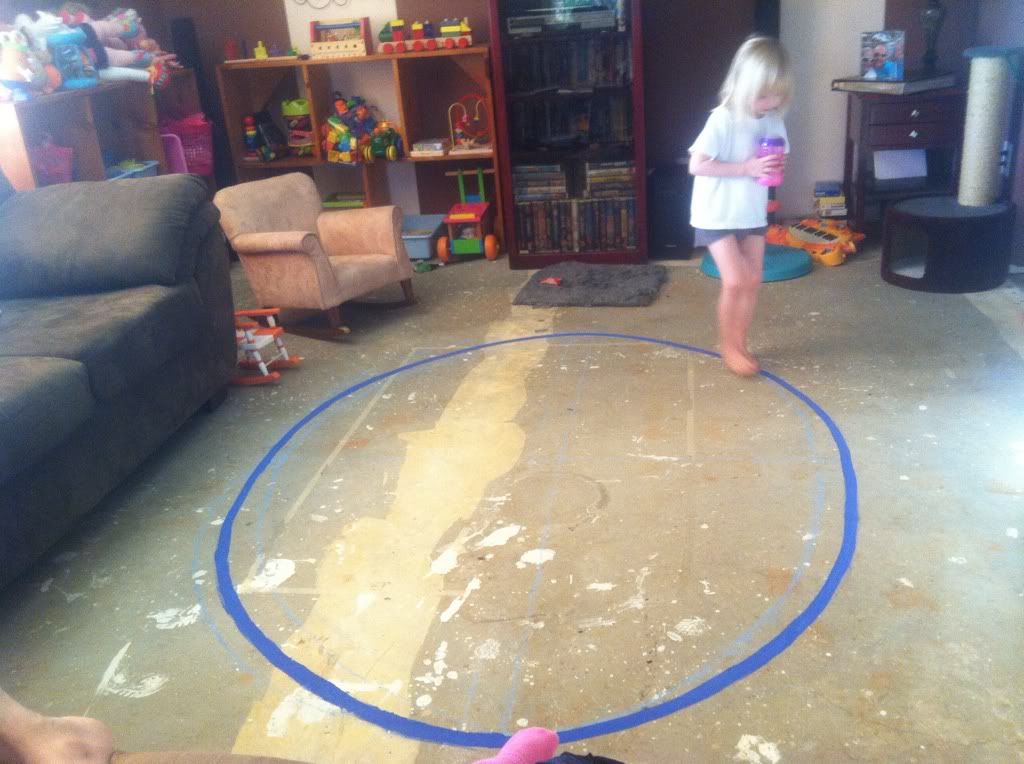
Now you have your ellipse! Of course you would have wanted to draw the shape with something you could remove easily if you made a mistake. You can play with it a little to get the exact shape that fits your area. The closer the lines are in size the more it will look like a circle. The longer they are the more it will look like an ellipse, but also the more narrow it will become. When you get the shape you want you can use tape or paint, if you want something more permanent, to trace over your sketch. Only tape or paint over the ellipse. The child would be confused if you were to go over all those intersecting lines in the middle.
I hope I've helped with your "line," making. I know Delores has been enjoying ours. Happy walking.

No comments:
Post a Comment